Why should you look into using Docker for your CI/CD?
This post is aimed towards developers/DevOps engineers who are not yet familiar with automated CI/CD pipelines and/or Docker. Following up with a more detailed post soon!
As you probably know, Docker is not a small thing anymore. It might just be one of the largest and most utilised pieces of software out there.
But, it is not so widespread that everyone is using it for their CI/CD. And that’s a shame.
Previous companies I have worked at, had CI/CD “pipelines” that any up-to-date DevOps engineer would not be very happy to see.
These are the two usual suspects:
- A script to log in (SSH) to the server and perform a “git pull”
- FTP directly into the application’s directory to upload the newest files
Some might perform one of these steps above, to then perform a “docker run” or “docker compose up”. This is a step in the right direction, but, if you are one of those devs and you like improvements to your stack, or if this is all new to you, keep reading.
Utilising Docker in combination with an automation server such as Jenkins, GitLab pipelines, GitHub actions, etc. will help many aspects of development. It will:
- Decrease time spent on deploying versions to staging and production environments
- Decrease time spent on analysing/debugging when something goes wrong with the latest version
- Decrease time spent on rollbacks (no more git revert/merge pains)
- Increase the level of understanding of your colleagues when something does go wrong
- Increase developer satisfaction as deployments only require 1 click of a button
- Increase client satisfaction as deployments are so smooth and quick
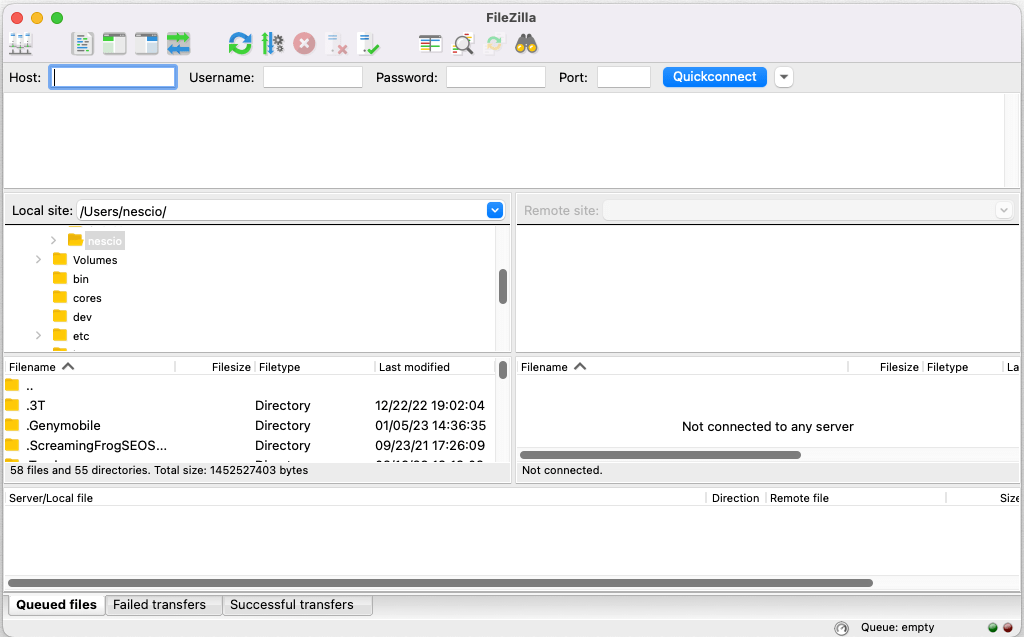
FileZilla is not an acceptable deployment method (anymore)
Building your application as a Docker image
I will not go into too much detail on how to exactly set up your Dockerfile, as this greatly varies per application and it is well-documented.
In essence, your Dockerfile should copy any required code over from your git repository, perform any compilation steps, and install all required dependencies.
The end result should be a so-called “image” which can be started and functions immediately without further manual actions.
For a (very) basic example to start an Express.js server refer to the following Dockerfile:
FROM node as client
WORKDIR /app
ARG envfilearg
ENV envfile=$envfilearg

LABEL maintainer="Scrumble <[email protected]>"

COPY . /app/
RUN npm install --prefix ./server
COPY . /app/
CMD PK_ENV=$envfile NODE_ENV=production node ./server/bin/www
EXPOSE 3000

HEALTHCHECK --interval=1m CMD curl -f http://localhost:3000/ || exit 1
Now in a production build you will probably want to do some cleanup, and if you have a more complex application such as
Laravel or .NET you will probably have to do some more work.
There are plenty of guides and examples available for all software stacks to refer to.
Getting started on the build pipeline
We chose Jenkins for our pipelines, but essentially you could use any system which has the capabilities to perform commands sequentially, or a script.
Other popular options are GitLab pipelines, GitHub actions or bash scripts.
Additionally, our pipelines separate the build and deployment into two separate jobs.
This way, we can build an image to use at a later time, or only deploy (a specific version – ideal when you need to rollback!).
Getting the image ready for deployment (build job) would require the following:
- Checking out the git repository
- Logging in to the docker container registry
- Building the image
- Pushing the image to the docker container registry
We chose to do these steps on a separate build server from the production server. Since for example npm build commands can take quite some server resources, you would not want this process to impact your production environment.
Once again, I will not go into too much detail as all steps are documented quite well all over the internet.
checkout scm
This is Jenkins-specific. In GitLab or Github this would work out-of-the-box.
This makes sure you have the most up-to-date version of the repository before you start building your Docker image.
docker build -t registry.gitlab.com/the-repository:some-versioned-tagname .
This will start building the image using the previously created Dockerfile, and tag it with a name (with the -t parameter) which you can later use during your deployment pipeline. We like to use commit hashes for our tagnames.
This image will be the finalised, packaged version of your application which will run on your servers.
sh 'echo "the password" | docker login registry.gitlab.com --username [email protected] --password-stdin'
The simplest way to log in to the container registry. If setting this up in Jenkins you should use the “withCredentials” method to mask any login credentials.
You could also set-up an SSH key so you don’t have to bother with logging in manually at all.
And finally,
docker push registry.gitlab.com/the-repository:some-versioned-tagname
This will push the created image to your container registry.
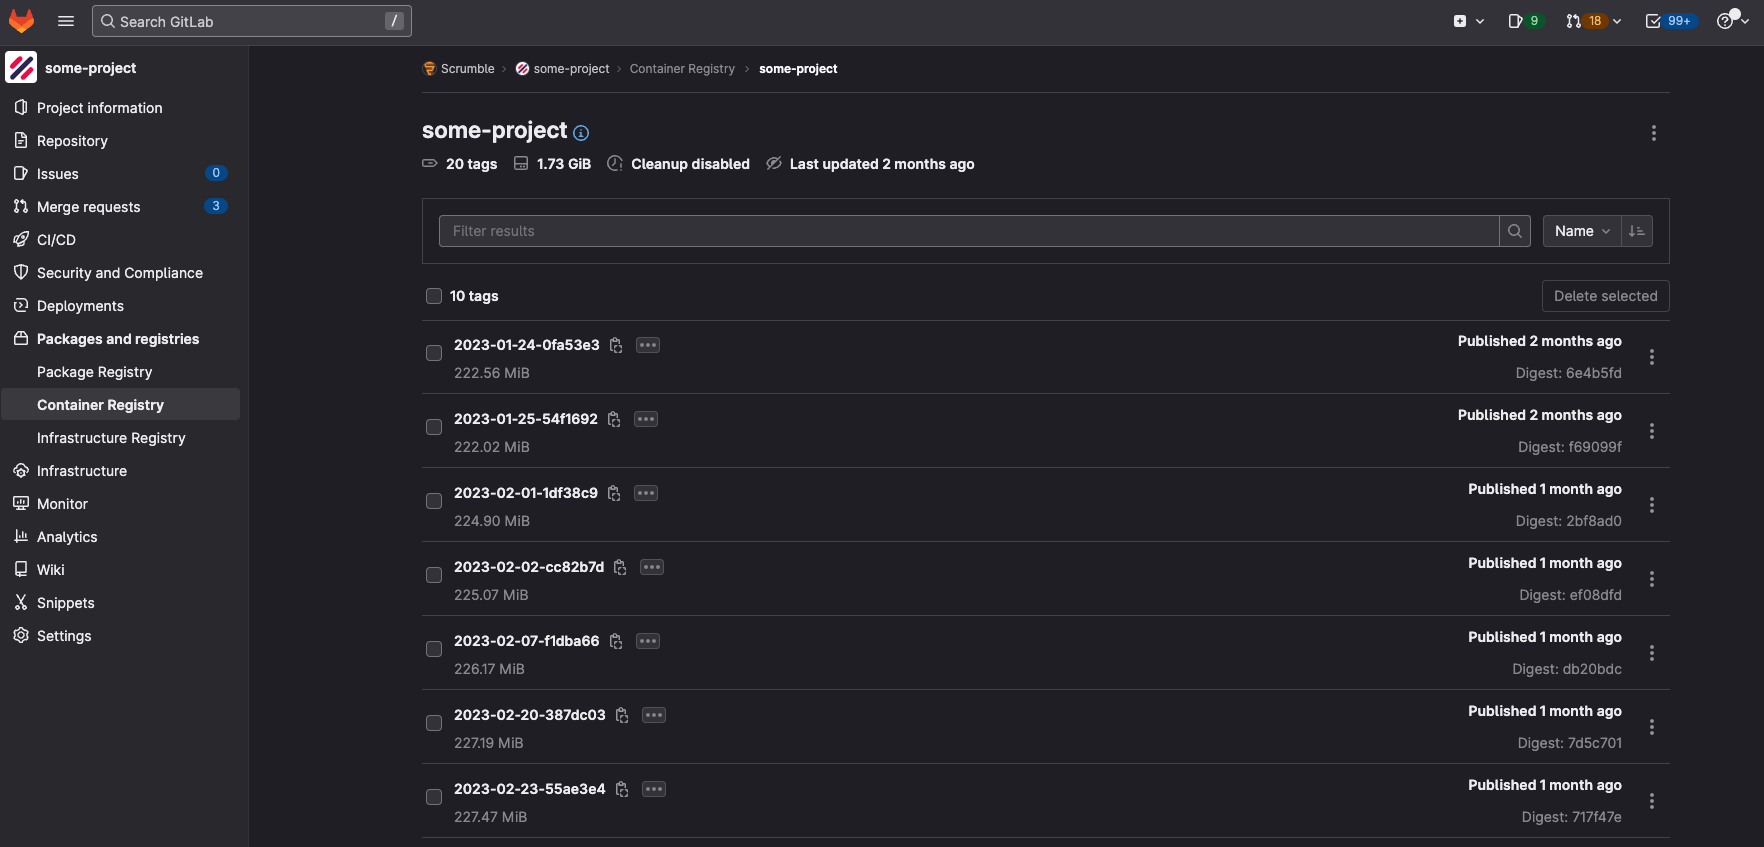
The container registry is the location where all your built Docker images will be stored for later usage.
Simply setting up these 4 commands sequentially would do the job. However, we added a lot more logic for error handling, tagging and pushing multiple versions, and sending error/warning/success notifications.
Since this is all very Jenkins-specific I will not zoom in too much on these aspects of the job and keep it minimal.
Do the rest of the setup to your heart’s desire.
The GitLab container registry of one of our repositories (name masked)
Deploying your Docker image
Cool, now our image is built and pushed to our container registry, it’s time to deploy.
As I said, we chose to separate our build- and deployment pipelines.
If you wish you could of course merge these into one, although I would recommend enforcing the deployment to either be an option the developer has to select, or be a fully manual action.
Deploying the image builds upon our previously performed steps, so we will now need to:
- Checking out the git repository (not required – we like doing this just so it is visible in Jenkins what is being deployed)
- Logging in to the docker container registry
- Pulling the previously built image
- Running the image
These steps should be performed directly on your production (or staging) server. No more heavy-duty commands are being run here, so server load should be on the low end.
You have two options here, either to directly run the image, or to use a “docker-compose” file.
Docker-compose is probably the most utilised setup, but here I will zoom in on the most basic version of running your image.
Additionally the checkout + docker login steps are identical to the steps explained above so our deployment is now super simple:
docker pull registry.gitlab.com/the-repository:some-versioned-tagname
Pull the image we pushed to the container registry in our build pipeline.
docker run -p 127.0.0.1:the-public-port-in-your-docker-container:80 --restart always --name your-container-name -d registry.gitlab.com/the-repository:some-versioned-tagname
This command does several things for us:
- Run the docker image tag defined with the -d parameter
- Define which port from within the image should be exposed to which port for the host machine with the -p parameter (in our case, this would be something like 9010:80, where 9010 is reverse-proxied to our Laravel application within the NGINX config)
- Name the container with the –name parameter (otherwise it will get an auto-generated name which is not so human-friendly)
- Define that the container should always restart if it crashes/stops for whatever reason with the –restart always parameter
And done, your image is deployed.
Now of course there are once again many more details, peculiarities and extra’s you could apply to your setup, but if you are still working with the “git pull” or FTP method, this will be a gigantic leap forward.
Our Jenkins dashboard (names masked). As you can see, we have hundreds of build- and deploy jobs here. Starting a deployment is as easy as clicking on the play button on the right!
When your colleagues press the “build and deploy” button in your automation pipeline and a few minutes later the newest version of the application is fully deployed without errors, manual commands, double-checking, conflict handling, FTP upload times, etc etc they won’t know what hit them.


